
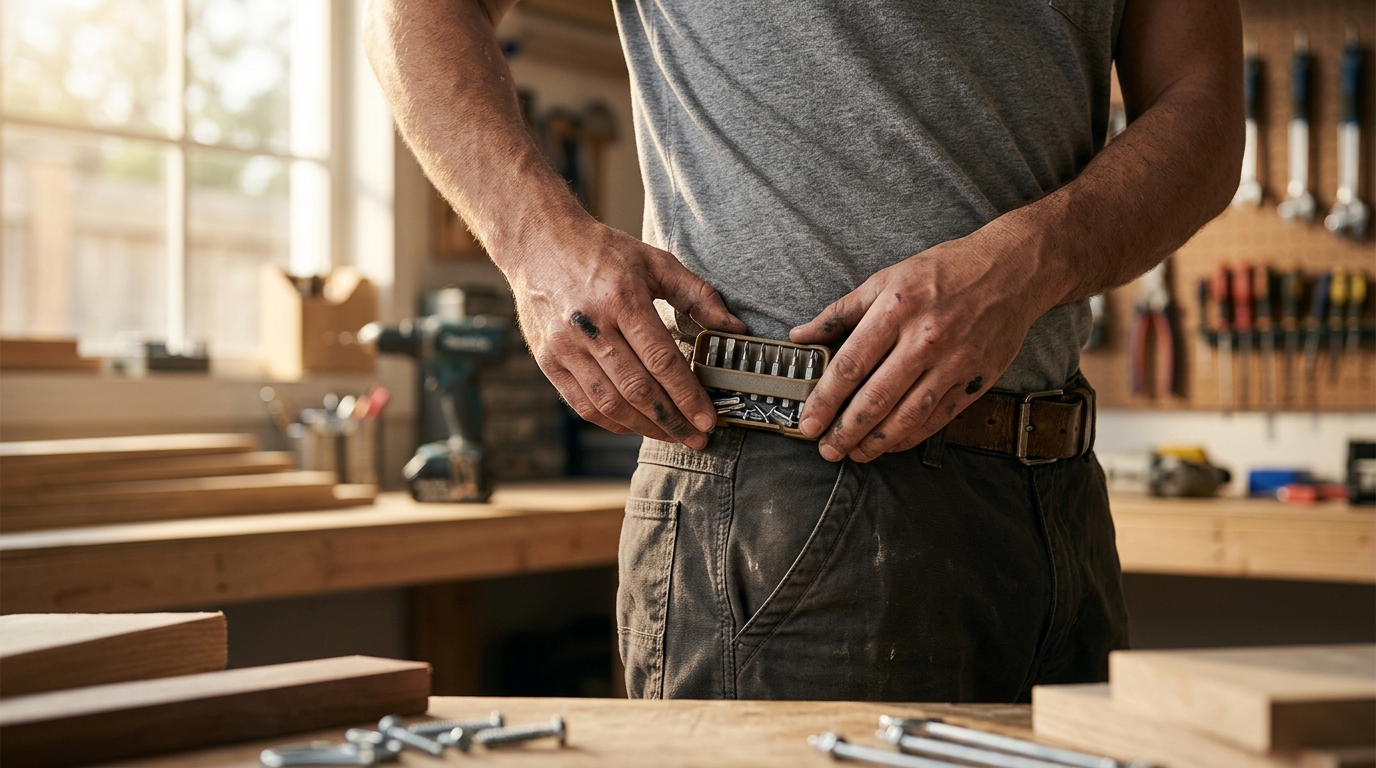
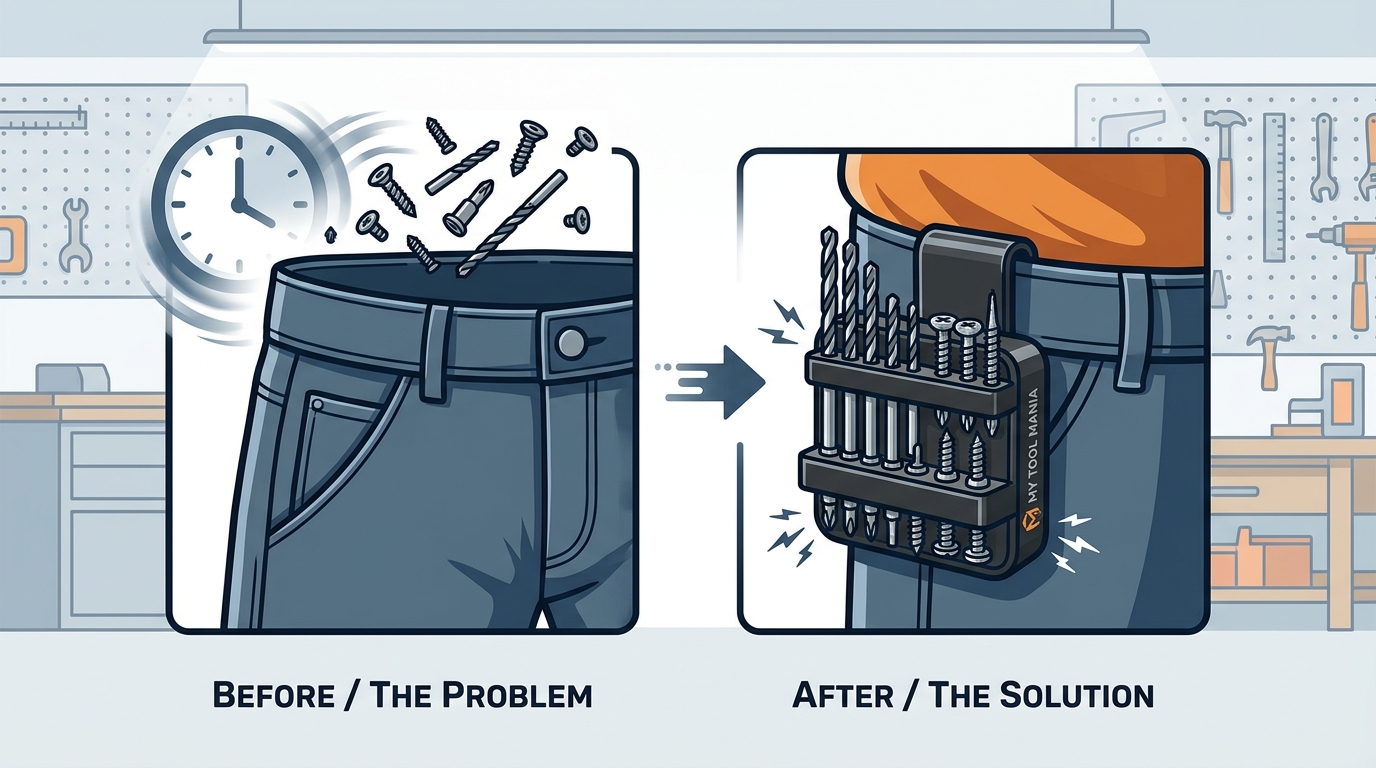
Tradespeople and DIY enthusiasts lose an average of 15 minutes per day searching for tools, a statistic that highlights the critical need for efficient tool organization strategies. The Bit Caddy from My Tool Mania is engineered to solve this problem by keeping your fasteners within immediate reach. However, improper attachment can lead to discomfort or loss of access. This guide details the precise methods for securing your Bit Caddy to your waistband, ensuring maximum stability and ergonomic efficiency. (Contact My Tool Mania)
Understanding the Bit Caddy Design
The Bit Caddy is not merely a container; it is a wearable tool organization system designed for rapid deployment. The core component enabling its versatility is the integrated heavy-duty clip. This clip is constructed from high-tensile steel, coated to resist corrosion and wear on job sites. The engineering behind My Tool Mania products prioritizes durability without adding unnecessary bulk to your waistline.
Before attempting any attachment method, inspect the clip mechanism. Ensure the spring tension is intact and the locking latch moves freely. A compromised clip will fail under the weight of a full load of bits and fasteners. The Bit Caddy utilizes a powerful N35 magnet to hold your bits securely, meaning the external attachment must be robust enough to support both the caddy's weight and the magnetic pull force. (Products My Tool Mania)
Method 1: Direct Waistband Clipping
This is the most common and versatile method for attaching the Bit Caddy. It works for jeans, cargo pants, and work trousers with reinforced waistbands.
Step 1: Positioning the Clip
Identify the front or back of your waistband. Most users prefer the front right or left hip for dominant-hand access. Align the clip opening with the fabric of the waistband. Ensure the fabric is not folded or twisted, as this can reduce the clip's grip strength.
Step 2: Engaging the Lock
Press the clip firmly against the waistband. You should hear a distinct click, indicating the locking mechanism has engaged. Pull gently on the Bit Caddy to test the security. If the clip slips, the waistband may be too thick or the fabric too soft. In such cases, move to a reinforced section of the waistband or use Method 2.
Step 3: Adjusting the Angle
The Bit Caddy can rotate slightly on the clip. Adjust it so the bit storage compartment faces outward or slightly upward. This orientation allows you to grab bits without removing the caddy from your waist. Avoid pointing the caddy directly downward, as this can cause bits to slide out if the magnetic hold is not sufficient for heavy metal bits.
Method 2: Belt Loop Integration
For users who wear belts or have thin waistbands that do not support the clip securely, the belt loop method is superior. This method distributes the weight across a wider area of the belt loop, reducing stress on the fabric.
Step 1: Selecting the Loop
Choose the belt loop closest to your dominant hand. For right-handed users, the right-side loops are ideal. For left-handed users, the left-side loops provide better ergonomics. Avoid the center loop, as it may interfere with your belt buckle or cause discomfort when sitting.
Step 2: Clipping the Loop
Open the clip and slide it over the belt loop. Ensure the clip is fully seated on the loop and not partially on the fabric. The clip should grip the metal or sturdy fabric of the loop directly. This method is particularly effective for heavy loads, as the belt loop is designed to bear weight.
Step 3: Securing the Position
Once clipped, rotate the Bit Caddy to the desired angle. The belt loop attachment is generally more stable than direct waistband clipping, allowing for a more aggressive rotation without risk of detachment. This is ideal for users who need to access their bits while bending over or working in tight spaces.
Method 3: Belt Buckle Attachment
If your belt loops are too small or your belt is made of soft material that does not support the clip, the belt buckle method offers a secure alternative. This method requires a belt with a standard prong buckle or a compatible frame buckle.
Step 1: Identifying the Attachment Point
Locate the belt loop immediately adjacent to your belt buckle. This loop is typically reinforced and provides a solid anchor point. If your belt lacks a nearby loop, you may need to use a belt with additional loops or consider a different attachment method.
Step 2: Clipping to the Belt
Clip the Bit Caddy directly to the belt itself, near the buckle. Ensure the clip does not interfere with the buckle's operation. If the belt is too thick for the clip, use the adjacent belt loop instead. This method is less common but useful for users who prefer to keep their caddy close to their center of gravity.
Step 3: Testing Stability
Belt buckle attachments can be prone to swinging if not secured properly. Ensure the clip is fully closed and the Bit Caddy is rotated to rest against your body or belt. This minimizes swinging and reduces the risk of the caddy hitting objects or people in tight workspaces.
Optimizing Access and Positioning
Correct attachment is only half the equation. Proper positioning ensures that your bits are accessible without disrupting your workflow. The Bit Caddy is designed for rapid access, but its effectiveness depends on your placement strategy.
Height Considerations
Attach the Bit Caddy at a height that allows you to reach it without bending excessively. For most users, this is at the hip level. If you spend a lot of time kneeling, consider attaching it slightly higher to prevent the caddy from digging into your leg when you sit or kneel.
Rotation and Orientation
Rotate the Bit Caddy so the bit storage compartment faces your dominant hand. This allows you to grab bits with your dominant hand while holding your drill with your non-dominant hand. This ergonomic setup reduces fatigue and increases speed during repetitive tasks.
Avoiding Interference
Ensure the Bit Caddy does not interfere with your belt buckle, pockets, or other tools. If it catches on your belt buckle, move it to a different belt loop or use the direct waistband method. Interference can cause frustration and slow down your work.
Maintenance and Care
To ensure the longevity of your Bit Caddy and its attachment mechanism, regular maintenance is essential. The N35 magnet and the clip are durable, but they require care to function optimally.
Cleaning the Clip
Remove the Bit Caddy from your waistband periodically and inspect the clip for debris. Dust, dirt, and metal shavings can accumulate in the clip mechanism, reducing its grip strength. Use a dry cloth or compressed air to clean the clip. Avoid using lubricants, as they can attract more dirt and damage the magnet.
Magnet Care
The N35 magnet is powerful but can lose strength if exposed to high heat or physical shock. Avoid leaving the Bit Caddy in direct sunlight for extended periods or dropping it from significant heights. If the magnet loses strength, bits may slide out, so replace the caddy if necessary.
Storage
When not in use, store the Bit Caddy in a dry place. Moisture can cause rust on the clip and bits. Keep the caddy away from other magnetic materials to prevent accidental demagnetization of nearby tools.
Key Takeaways
- Secure Attachment: Always ensure the clip is fully engaged and locked before loading the Bit Caddy with bits.
- Dominant Hand Placement: Attach the Bit Caddy on the side of your dominant hand for optimal ergonomics and speed.
- Belt Loop Preference: For heavy loads, prefer belt loops over direct waistband clipping for increased stability.
- Regular Inspection: Check the clip mechanism and magnet strength regularly to prevent tool loss.
- USA Engineering: My Tool Mania products are engineered and assembled in the USA, ensuring high-quality standards.
- 30-Day Guarantee: The Bit Caddy comes with a 30-day money-back guarantee, allowing risk-free testing of attachment methods.
- Universal Fit: The Bit Caddy is designed to hold standard bits and fasteners, making it compatible with most tool sets.
Frequently Asked Questions
Can I attach the Bit Caddy to a thin waistband?
Yes, but ensure the waistband is reinforced. If the fabric is too thin, the clip may slip. Use a belt loop or a thicker section of the waistband for better security.
Does the Bit Caddy fit all belt loops?
The clip is designed to fit standard belt loops. If your belt loops are unusually small or large, test the clip fit before loading the caddy.
How do I prevent the Bit Caddy from swinging?
Rotate the caddy to rest against your body or belt. Use a belt loop attachment for a more secure fit than direct waistband clipping.
Is the Bit Caddy compatible with all drill brands?
The Bit Caddy is designed for bits and fasteners, not the drill itself. It is compatible with standard bits from all major drill brands.
What is the weight capacity of the Bit Caddy clip?
The clip is designed to hold the Bit Caddy fully loaded with bits. It is tested for durability and security under normal working conditions.
Can I wear the Bit Caddy on the back?
Yes, you can attach it to the back waistband or belt loop. However, front or side attachment is generally more ergonomic for accessing bits.
How do I clean the Bit Caddy?
Wipe the caddy with a dry cloth. Avoid using water or chemicals that could damage the magnet or clip mechanism.
Get Your Bit Caddy Today
Stop losing time searching for bits. The Bit Caddy from My Tool Mania provides instant access to your fasteners, keeping your workflow uninterrupted. With its patent-pending design and USA engineering, it is the ultimate solution for wearable tool organization. Shop the Bit Caddy now and experience the difference in your daily work. Join thousands of tradespeople who have optimized their tool access with My Tool Mania.